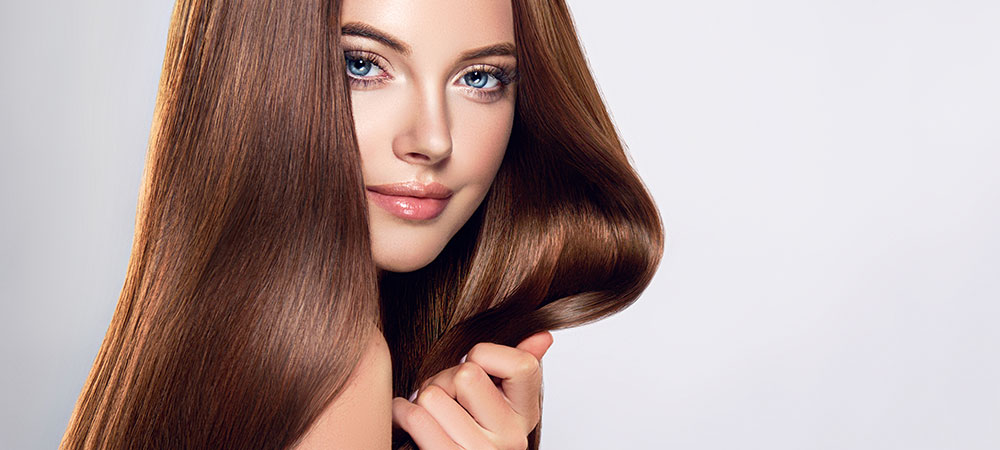
Unlike other hair straightening methods, Japanese hair straightening is gentler on the hair and lasts for a long time. Unfortunately, having it at a Japanese hair-straightening salon is expensive hence out of reach for many people.
Luckily, you can do the straightening at home, so if you are asking, can I do Japanese hair straightening at home? Yes, you can straighten the hair at your home, but you have to follow the right procedure:
Step 1: Hair analysis
Before the procedure, it’s wise you have your hair inspected by a qualified professional. Although, you will have to pay for it, the fee is worth it as you won’t risk damaging your hair. During the analysis, the hair professional will determine the hair’s chemical treatment history, dryness, and damage levels.
It’s from this analysis that the hair professional will tell you if to go ahead with straightening the hair.
Step 2: Wash and shampoo the hair
If the hair expert tells you that your hair is healthy enough to undergo straightening, proceed with the procedure, and begin with cleaning the hair using a high-quality shampoo. The purpose of doing this is to ensure that you have clean hair to work with.
Step 3: Pre-treat the hair
The purpose of pre-treating the hair is to protect and prepare it to receive the hair straightening solution. You should spray high mineral content water, and heat resistive to prevent the scalp from getting chemically burnt.
Apply the heat-resistant gel carefully to small locks on the hair. While it will take time to apply the gel, it will help you get ideal results, especially if there are any damaged areas of your hair.
Step 4: Ensure you have all the necessary supplies
There is nothing as bad as beginning the hair straightening then finding out that you are missing some of the supplies as doing so can easily lead to hair damage. Luckily, you can prevent the damage from happening by confirming that you have everything even before you begin.
Some of the supplies you need include:
- Clarifying shampoo
- Ionic blow dryer
- Japanese hair straightening treatment kit
- Thin plastic comb
- Ceramic coated straightener
- Deep conditioner
- A friend or family member to help you out
Step 5: Apply the activator
From its name, the activator activates the hair straightening process. You should apply the hair straightening gel or solution, and it breaks down the hair protein bonds so they can become as straight as possible.
For your hair to be uniformly exposed to the activator, apply it quickly and evenly, then wrap it gently using plastic wrap. You may have to let the solution sit for 5 minutes to one hour to work on the hair fully.
Step 6: Rinse, blow-dry, and iron the hair
Once the activator has worked its magic, rinse it gently to prepare for straightening. You should then dry the hair carefully while avoiding scrubbing it.
After rinsing the hair, blow-dry it with a dryer but ensure the dryer doesn’t fully dry the hair. Leave some moisture for the ironing process. For best results, iron the hair using a professional level flat iron set to a temperature of upwards of 350 degrees Fahrenheit.
Step 7: Apply the neutralizer.
After straightening the hair with an iron, apply the neutralizer to balance the hair pH. You should let the neutralizer sit for about 5 minutes, then rinse it out.
Step 8: blow-dry, then pass the finishing iron.
After the hair has set, blow-dry it towards the cuticles, then iron it for the last time to keep it completely straight.
Can you do it?
Japanese hair straightening is possible at home, but you have to follow the right procedure and use the right products diligently. If you don’t have the time or feel it’s too much work, let stylists from permanent hair straightening salon Rockville help you out.

